Robotics-II-Circuit-Python
Circuit Python tutorials in Robotics II
View the Project on GitHub MrPrattASH/Robotics-II-Circuit-Python
Table of Contents
Positional Servo Challenges (Mars Rovers)
Lets get more practice using positional servos
1. Modifying the sweep code sleep time
Lets take our sweep code and modify it a bit to further discover the differences between a straight set angle, and a sweep. Run both the sweep and basic angle sets in your while True loop. Attach a single servo (positional) to your breadboard and try the following:
#... init statements & servo setup

while True:
    # basic angles
    print("basic angles")
    my_servo.angle = 0 # set the servo to 0 Degrees, the min point
    time.sleep(1)
    my_servo.angle = 90 # set the servo to 90 Degrees, the midpoint
    time.sleep(1)
    my_servo.angle = 180 #set the servo to 180 Degrees, the max point
    time.sleep(1)

    print("sweeps")
    for angle in range(0, 180, 5):  # "sweep" 0 - 180 degrees, 5 degrees at a time.
        my_servo.angle = angle
        time.sleep(0.05)
    for angle in range(180, 0, -5): # "sweep" 180 - 0 degrees, 5 degrees at a time.
        my_servo.angle = angle
        time.sleep(0.05)
- Try to increase or decrease the sleep time inside the
for angle in rangeloops. At what point to you notice a difference between a servo sweep, versus a straight angle? How low can you make the sleep occur to notice a difference?
2. Modifying the sweep code angle change
This time, rather than changing our sleep value, we’ll change our angle value each iteration of the loop.
for angle in range(0, 180, 5):  # "sweep" 0 - 180 degrees, 5 degrees at a time.
        my_servo.angle = angle
        time.sleep(0.05)
    for angle in range(180, 0, -5): # "sweep" 180 - 0 degrees, 5 degrees at a time.
        my_servo.angle = angle
        time.sleep(0.05)
- In the
for angle in range(0,180,5)section of the loop, you’ve likely been noticing that our angle is increasing by 5 each iteration. - Rather than changing our sleep value, now change our angle each loop. At what point is the movement the smoothest? At what point is the movement so slow you barely notice a change?
Challenge: Table Flipping RC Rover
For this challenge, you’ll be making a forklift, table flipping RC rover.
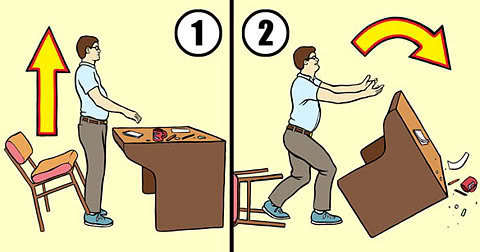
 I’m filled with so much rage - Your Rover (probably)
Drive Train:
- x2 rotational servos + ball caster Hardware:
- x1 positional servo w/ simple forklift arm attached
- FlySky RC Reciever + Transmitter
Challenge Goals:
- wire the RC reciever to your rover. We want either the 3 way or 2 way switch Ch6/Ch5 respectively.
- Attach a positional servo to the front of your rover. Attach a simple arm to this positional servo. Calibrate this arm’s start and stop points. Before you attach your arm:
0 outyour servo: Attach your arm, then rotate your servo horn all the way to the left to achieve0degrees on your servo.- Re-attach your servo arm at the rough starting angle.
0*may not be optimal. - Calibrate your start angle, is
10*optimal? Test this with simple code. Send an angle, and see what the ideal starting point for your arm is - Then calibrate your ending angle. is
90*optimal? What works for your design?
- When you throw either the 2 way or 3 way switch on, the servo should lift the arm up, as if flipping a table (or an opponent), and vice versa.