Robotics-II-Circuit-Python
Circuit Python tutorials in Robotics II
View the Project on GitHub MrPrattASH/Robotics-II-Circuit-Python
Table of Contents
Continuous Rotational Servos
Continous rotational servos, as their name implies, are servo motors that constantly spin in circles. They can spin in either direction, depending on what direction you set their throttle to.
Video Tutorial
Text Tutorial
Wiring
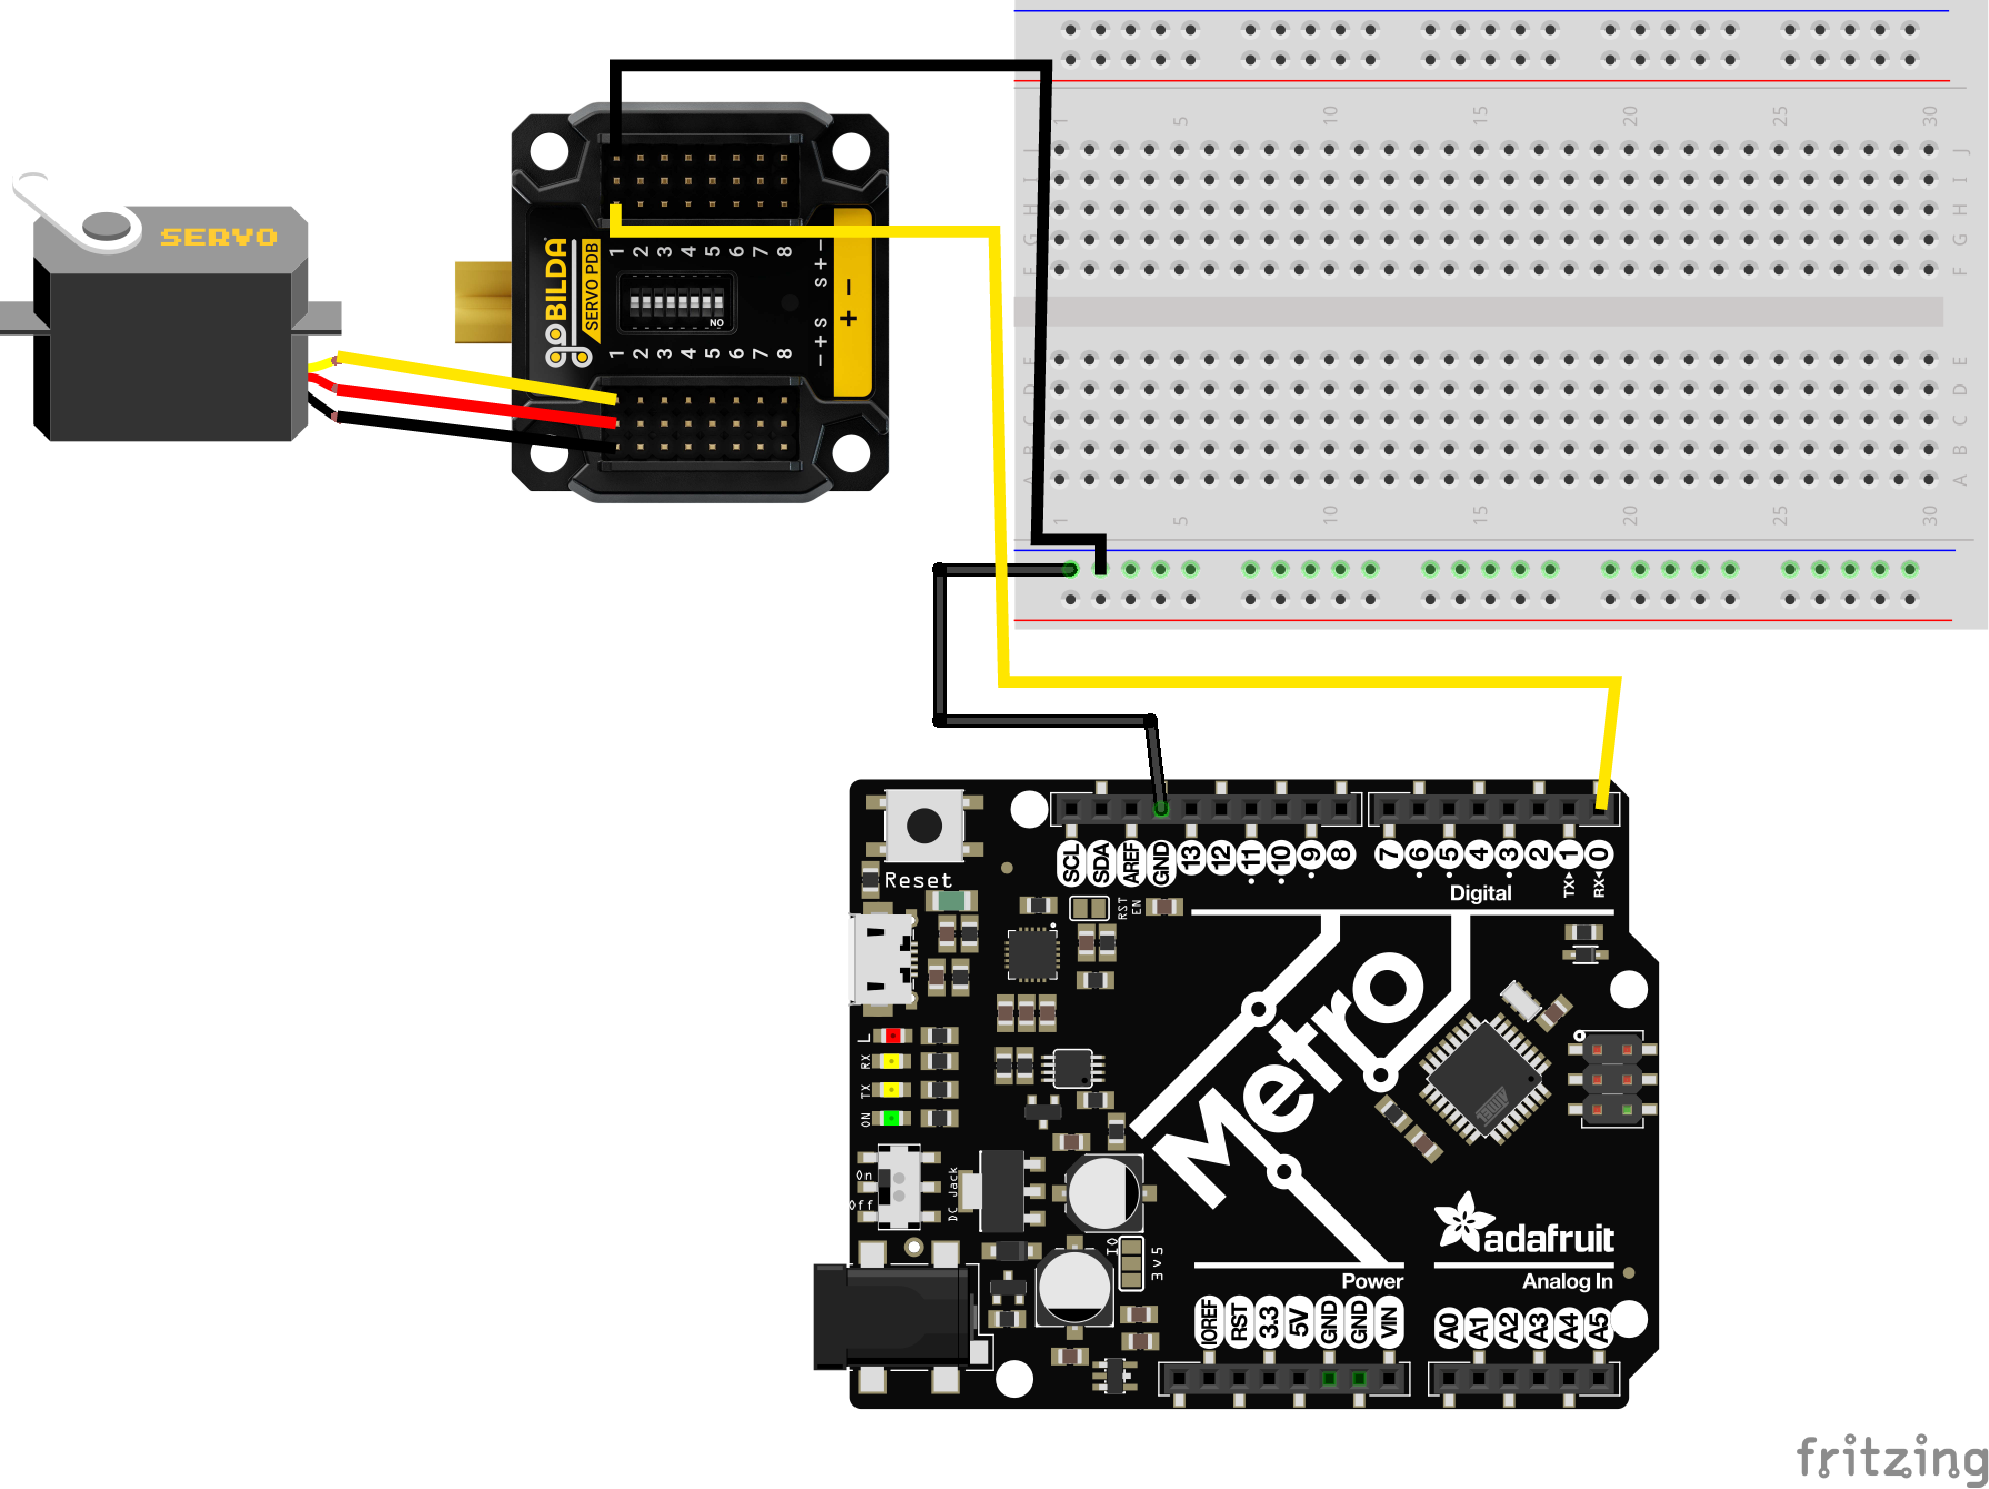
Method 1: Servo Power Delivery Board (PDB)
Wire this up to the servo PDB. Don’t forget to add in power for BOTH the metro board & the servo PDB! This is my preferred method
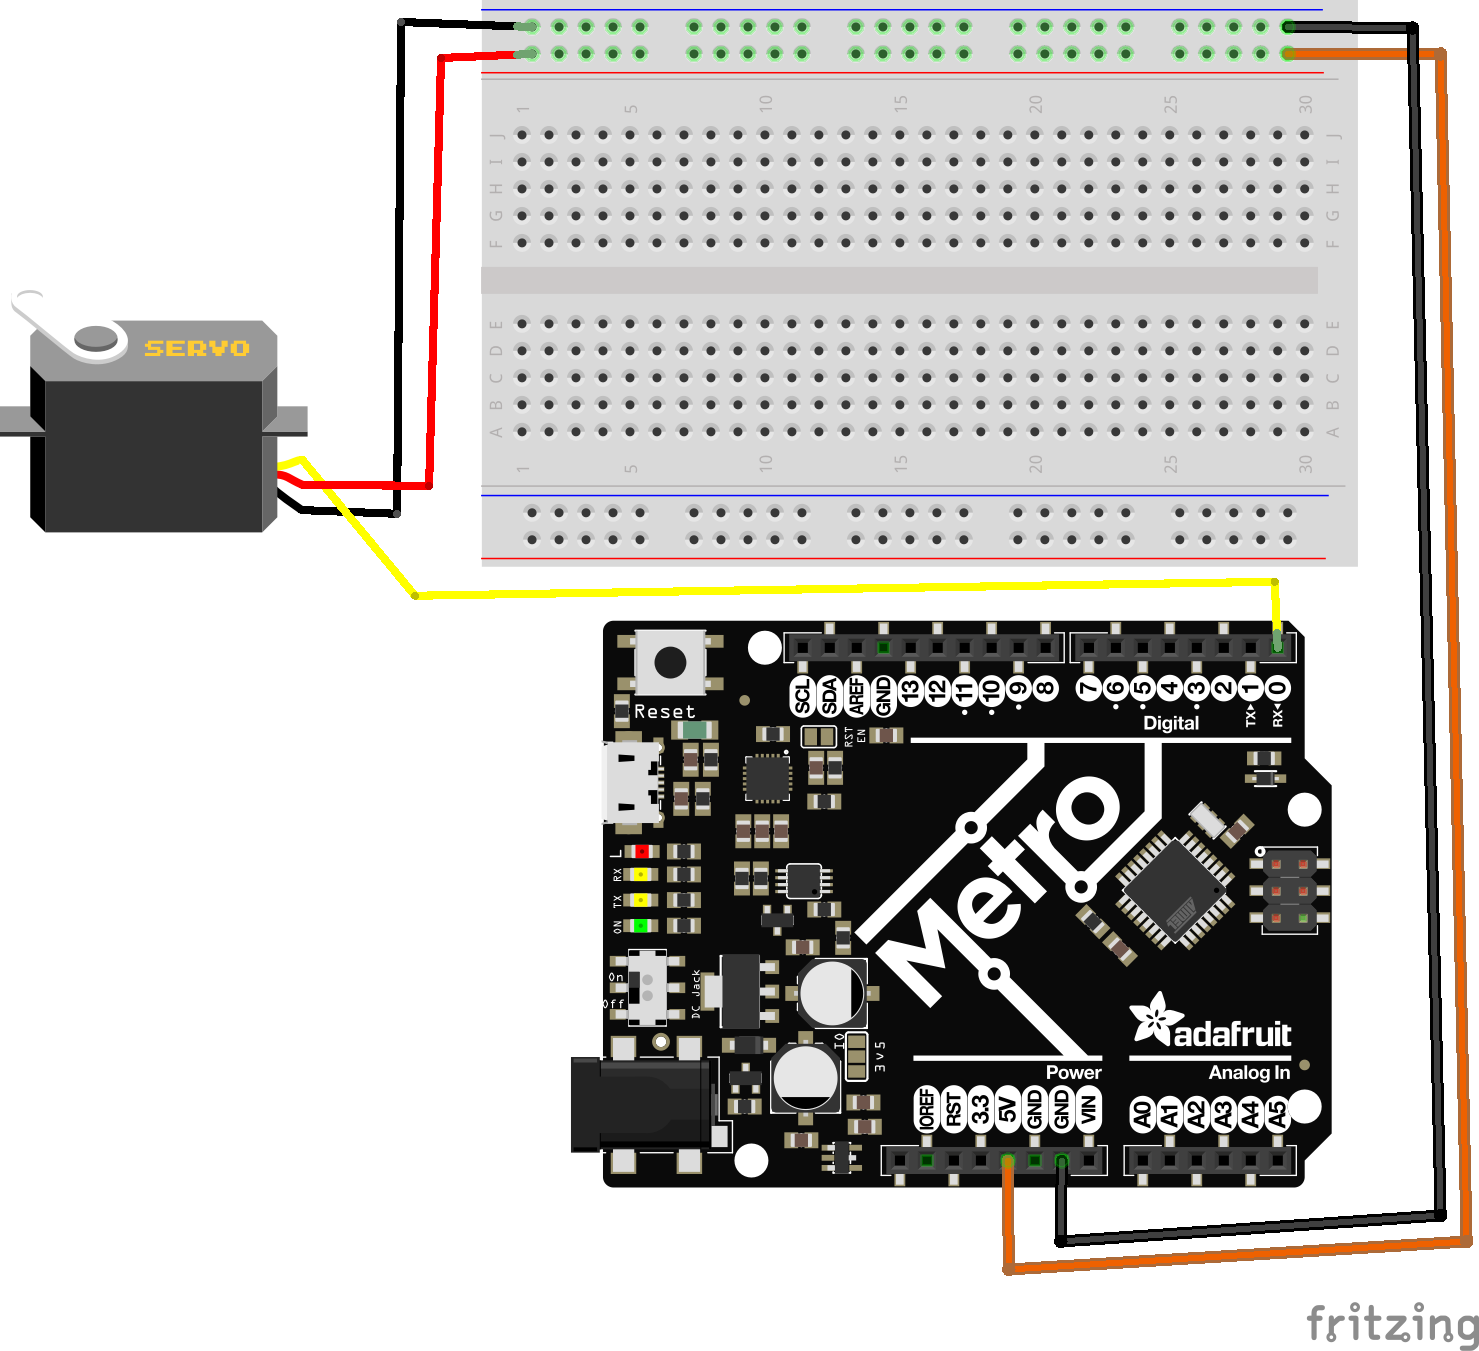
Method 2: Metro Board Power
If you’re only using your Metro board as power, do the following. I advise against this method as the amperage is too low for proper power
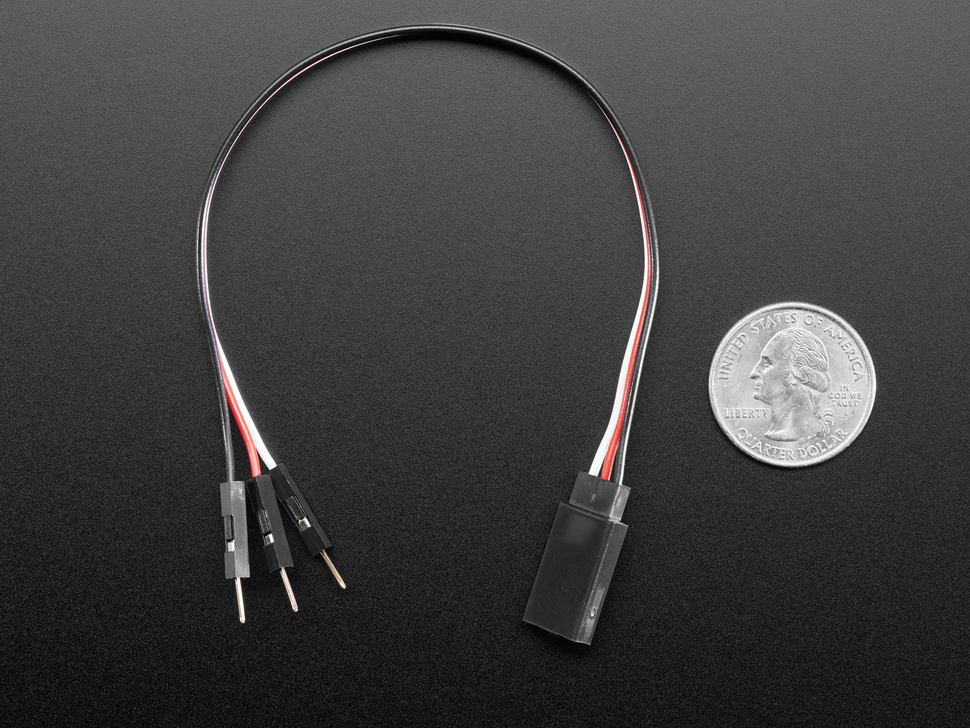
You’ll find this Servo-Shroud to x3 Male jumper cable helpful when connecting your servo to your breadboard.
Programming
python code here
# SPDX-FileCopyrightText: 2019 Anne Barela for Adafruit Industries
#
# SPDX-License-Identifier: MIT

"""CircuitPython Essentials Servo continuous rotation servo example"""
import time
import board
import pwmio
from adafruit_motor import servo

# ----------------- INIT DEVICES -------------------------

# create a PWMOut object on Pin D0.
pwm = pwmio.PWMOut(board.D0, frequency=50)

# Create a servo object, my_servo.
my_servo = servo.ContinuousServo(pwm)

while True:
    print("forward")
    my_servo.throttle = 1.0
    time.sleep(2.0)
    print("stop")
    my_servo.throttle = 0.0
    time.sleep(2.0)
    print("reverse")
    my_servo.throttle = -1.0
    time.sleep(2.0)
    print("stop")
    my_servo.throttle = 0.0
    time.sleep(4.0)
Examining The code
Import Statements
import time
import board
import pwmio
from adafruit_motor import servo
These imports bring in the necessary libraries:
- time: For time-based functions like delay or sleep.
- board: To access the microcontroller’s pins.
- pwmio: Handles “Pulse Width Modulation” signaling, crucial for driving servos.
- adafruit_motor: Contains servo-specific functions from the Adafruit motor control library.
INITIALIZE Devices
pwm = pwmio.PWMOut(board.D0, duty_cycle=2 ** 15, frequency=50)
Initializes our servo on Pin Digital 0, with a duty cycle of 2 ** 15, and a frequency of 50.
- The duty cycle of a servo refers to the percentage of time during each pulse cycle that the control signal is in the “on” state. For rotational servos, this duty cycle determines the speed of the servo arm.
- A typical servo operates with pulse widths ranging from 1 ms to 2 ms over a 20 ms period:
- 1 ms might correspond to -100% speed, 1.5 ms to stop, and 2 ms to 100% speed.
- The frequency refers to how often the control signal’s pulse cycle repeats per second.
- Typically, hobby servos operate at a frequency of 50 Hz, meaning the control signal pulse cycle repeats 50 times per second, or once every 20 milliseconds.
- This consistent repetition rate is crucial for maintaining the desired speed of the servo.
my_servo = servo.ContinuousServo(pwm)
creates a servo object, taking special methods from our servo library for controlling our servo. Note that we initialize a continuous servo.
While True Loop:
while True:
    print("forward")
    my_servo.throttle = 1.0
    time.sleep(2.0)
    print("stop")
    my_servo.throttle = 0.0
    time.sleep(2.0)
    print("reverse")
    my_servo.throttle = -1.0
    time.sleep(2.0)
    print("stop")
    my_servo.throttle = 0.0
    time.sleep(4.0)
This loop controls the servo, printing the current action and setting the throttle:
- forward: Throttle set to 1.0 (max forward speed).
- stop: Throttle set to 0.0 (stop).
- Note: You may notice that your servo doesn’t actually stop here. We need to calibrate our stop positions. More on this below.
- reverse: Throttle set to -1.0 (max reverse speed).
You can set the throttle to any value between -1.0 and 1.0:
-1.0: Max Reverse Speed
-0.5: 50% Reverse Speed
0.0: Full Stop
0.1: 10% Forward Speed
1.0: Max Forward Speed
Calibrating Your “Stop” Throttle
Continous servos can be tricky, especially servos on the cheaper side. Generally, Servo motors <30 EUR will need to have calibrated stop positions. Likely you noticed that 0.0 throttle didn’t actually stop your servo. Let’s change that through calibration. It’s possible that:
0.1is stop-0.18is stop- any other value between
0.3and-0.3may be stop.
Here is a handy code you can use to calibrate your stop position of a servo. Each servo will need to be individually calibrated.
- during calibration, watch the serial port and note down what
throttle.valuecauses your servo to stop.
# SPDX-FileCopyrightText: 2024 Brogan Pratt
#
# SPDX-License-Identifier: MIT

"""ervo continuous rotation calibration example"""
import time
import board
import pwmio
from adafruit_motor import servo

# ----------------- INIT DEVICES -------------------------

# create a PWMOut object on Pin D0.
pwm = pwmio.PWMOut(board.D0, frequency=50)

# Create a servo object, my_servo.
my_servo = servo.ContinuousServo(pwm)

# watch your serial port to see what value causes the servo to stop.
# note this stop value for each specific motor
while True:

    #don't worry about understanding this code yet,
    #simply watch your serial output :)
    print("starting calibration test")
    i = -3.0
    while i <= 3.0:
        print("Servo Throttle: ", str(i))
        my_servo.throttle = i
        time.sleep(2)
        i+= 1
    print("Calibration completed\nRestarting...")
    time.sleep(2)